
Distribute Your Music with Dibsteur
Prepare and submit a first release in Dibsteur: audio, artwork, metadata, contributors, territories and release date.
By Dibsteur Published March 10, 2025 Updated August 12, 2026
A complete distribution starts before delivery to the platforms. Prepare your files and information, then check every step in Dibsteur. Accurate metadata speeds up review and reduces corrections after delivery.
1. Create a Distribution
From the Distribution area, create a new project and choose its format: single, EP or album. Use the final release title. The track count, versions and running order must match the project that will be delivered.
2. Enter the Genre and Language
Choose the genre that genuinely describes the release and the primary language of the lyrics. This information helps classify the catalogue. Do not select a genre solely to target a playlist: accuracy remains the priority.

3. Add Compliant Cover Artwork
Upload a clear, square image at a suitable resolution. It should not include URLs, contact details, prices, platform logos or information that conflicts with the metadata. Any artist name or title shown on the artwork must match the distribution fields.
4. Declare the Rights
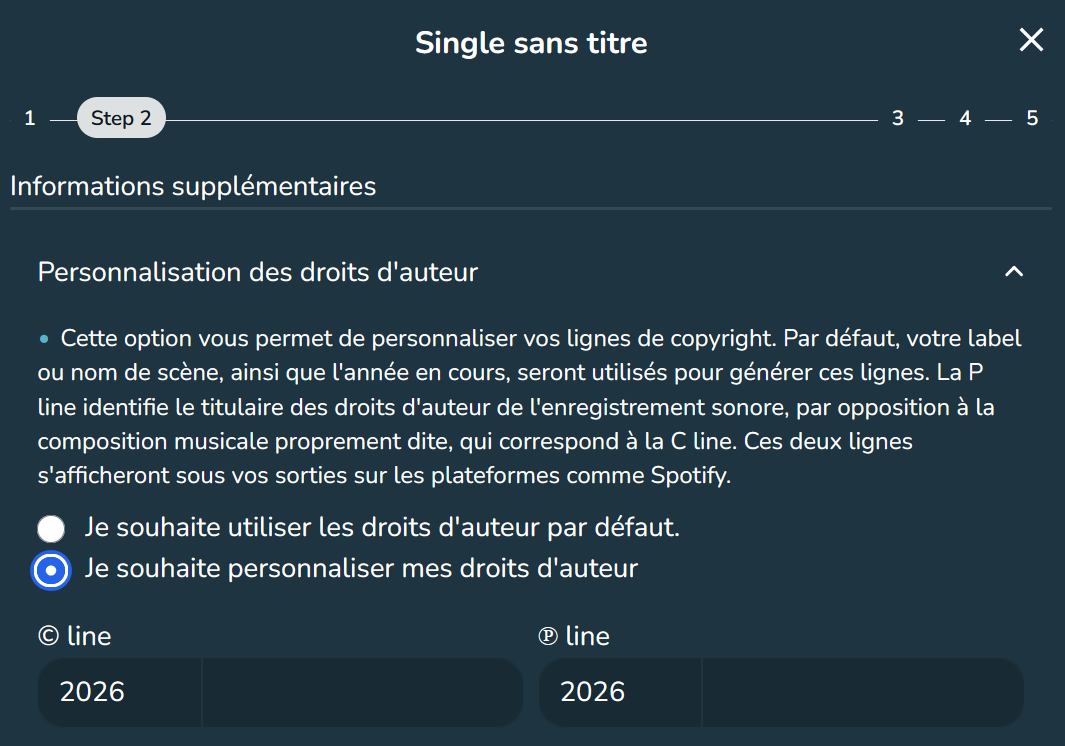
Enter the year and owner of the composition copyright, then the year and owner of the master recording. Use the legal or professional names that actually control those rights. Make sure you have the required permission for samples, cover versions and collaborations.
5. State Whether the Track Has Been Released Before
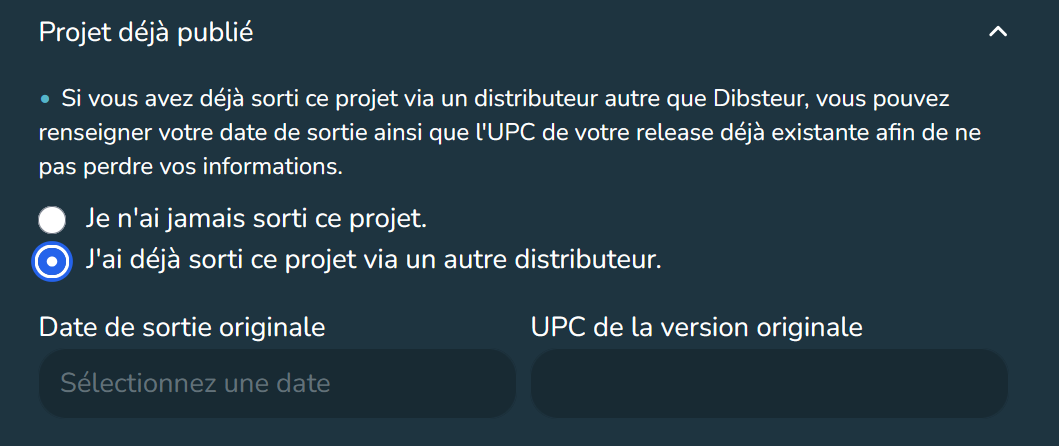
For a first release, Dibsteur can assign the required identifiers according to the service terms. For a recording that has already been distributed, reuse its ISRC and original release date. If you are changing distributors, follow Transfer Your Distribution to Dibsteur.
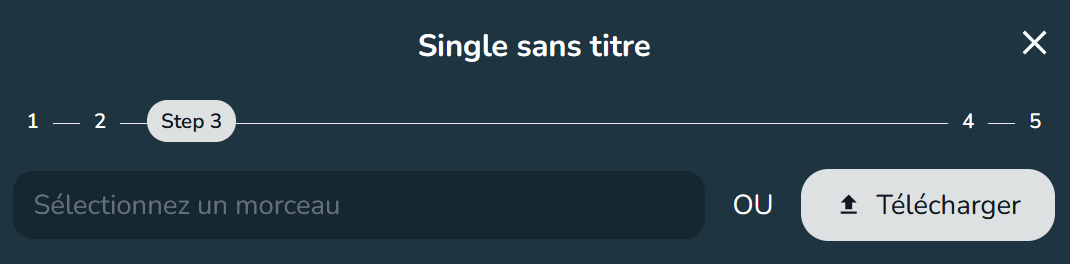
6. Upload the Audio File
Use the final master, with no accidental silence, clipping or export defect. Listen to the file from beginning to end before uploading it. Do not replace it after validation without checking the consequences for the ISRC and delivery.
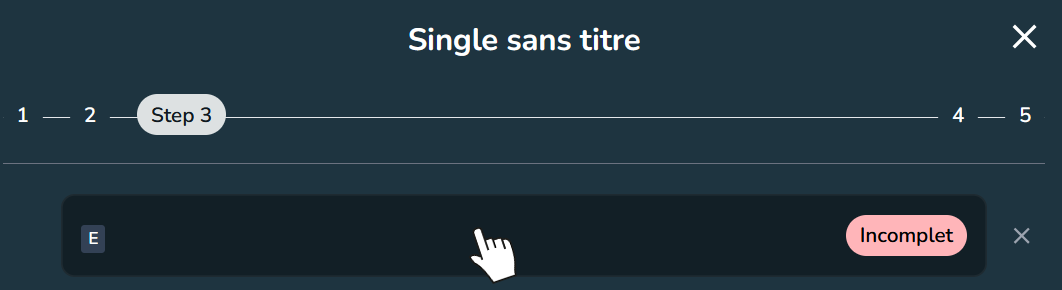
7. Complete Metadata and Credits
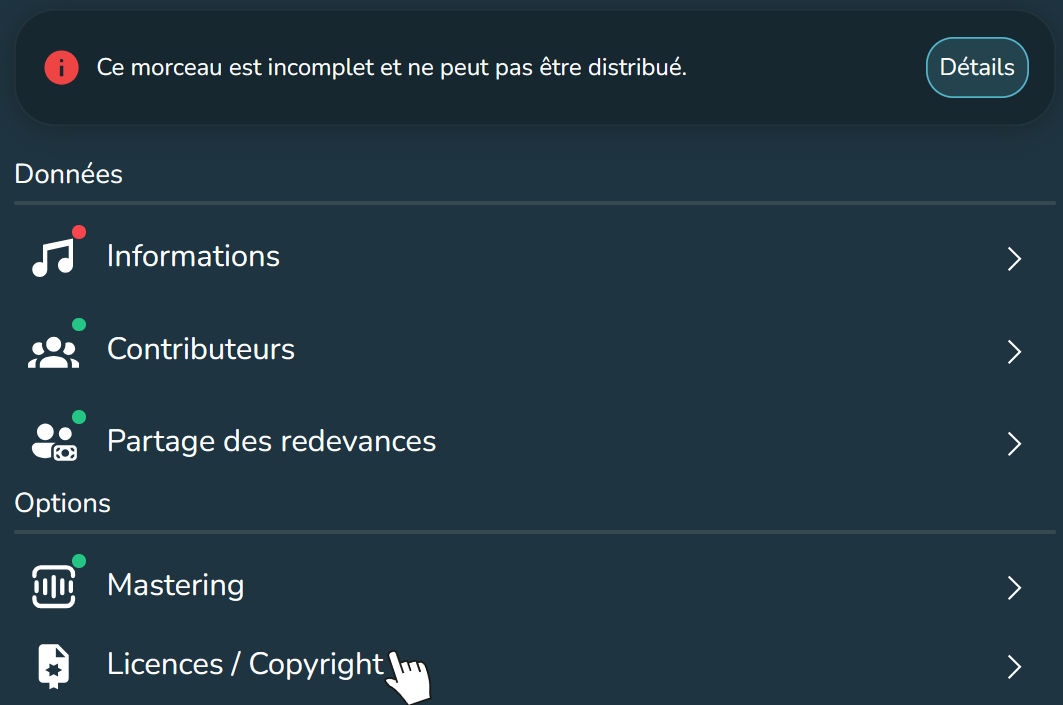
Enter the title, version, primary and featured artists, songwriters, composers, producers and other contributors. Use consistent spelling throughout the project. Platforms distinguish a primary artist role from a production credit.
8. Select Territories and Licences
Select only the territories in which you control distribution rights. If your rights are worldwide, you can choose global availability. Otherwise, exclude countries that are not covered by your licence.
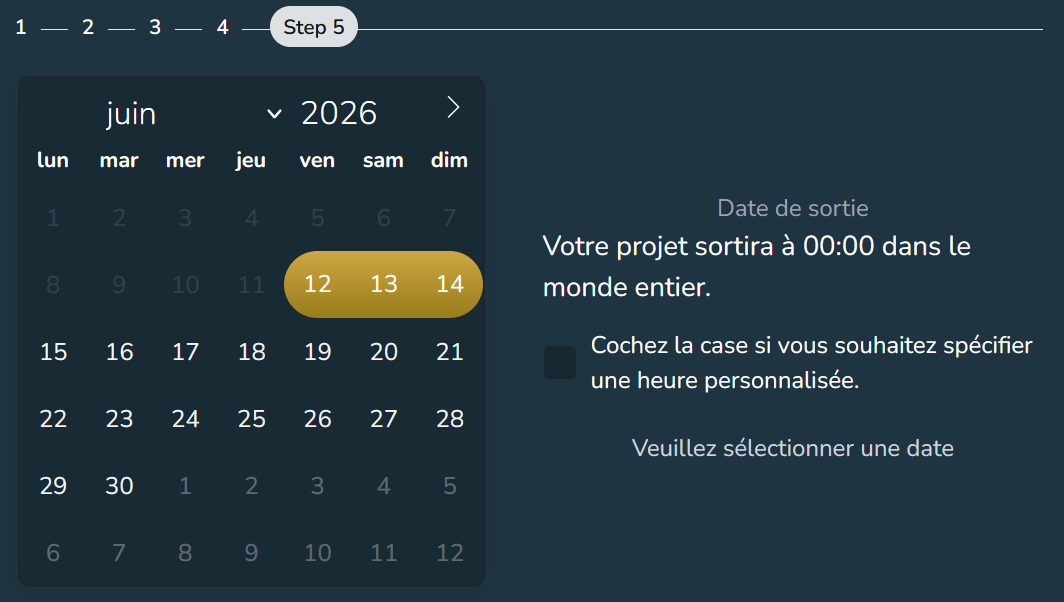
9. Schedule the Release Date
Allow time before the public date for Dibsteur review, platform processing and your release campaign. Processing is not governed by one guaranteed deadline across all services. Submit early, especially if you plan an editorial pitch or campaign.
Final Check Before Submission
- Proofread titles and artist names.
- Listen to every audio file.
- Check the artwork and credits.
- Confirm rights, territories and the date.
- Check explicit designations and versions.
After validation, follow the project status in Dibsteur. To understand Spotify delivery and prepare your release campaign, read How to Get Your Music on Spotify.